Showing posts with label crafty. Show all posts

Tuesday, October 29, 2013

Craft Show Update & DIY Tag Banner

Last weekend I took part in my very first craft show.  It was exciting, nerve-wrecking, stressful and eye-opening.  I want to take a second to express my gratitude and thank my friends and family who supported and encouraged me to start my own itty bitty business. It means the absolute world to me to know I have such wonderful people in my life.  Even all my friends on Instagram that have commenting on my pictures...you rock! 
My set up on the left, Betty in the middle, Beachy Keen Jewelry on the right.
As mentioned in previous posts it took a lot of work to get ready for this show.  The outcome was both rewarding and slightly disappointing. I got lots of praise about how beautiful my work was and how creative and adorable my set up was on the table. Yet, no one bought anything.  That's not true... two people bought my cards (one being my best friend's mom).  I was also selling these rubber band bracelets that kids are obsessed with right now and one little girl kept coming back for more, which was cool but I was only selling them for 50 cents each. 

I didn't get frustrated though.  It was a very small craft show (20 vendors) in a church. I don't think it was advertised very well either, which is a shame. But it was a great experience and I did sell some cards, which is way better than diddly-squat! I already have another craft show lined up for next month and I can't wait. 


But anyways! I wanted to share with you a cute and quick DIY Tag Banner I made for my craft show display. I'm kind of obsessed with it and love the way it turned out!


What you'll need:
White Tags* (Joanne's)
String (my tags came with some)
Scrapbook Paper (Joanne's)
Letter Stickers (Joanne's)
Scissors
Glue
Hole punch
A Glass of Wine**

*I only needed one package for what I wanted to spell out...you may need more for whatever you plan on putting on your banner.
**If you are 21 years of age or older

Step 1:
Because I was working with a smaller space (a suitcase) I had to cut my tags into a smaller size in order to fit properly where I wanted it. Then I punched TWO holes on the top of my tags so they would lay flat on the string.

Step 2:
Choose the scrapbook paper you want to use for some color on your tag banner
 and trace the width of your tags and how much of the paper you want on your tags.
(I didn't want the scrapbook paper to take up the whole tag so I cut it at about an inch and a half/two inches.)

Step 3:
Glue the scrapbook paper onto the tags.

Step 4:
Push your cat out of the way.
(This step may occur many times. Repeat as often as necessary.)

Step 5:
Line up tags whatever way you wish. I put mine into a pattern but you can do it randomly, or whatevs.

Step 6:
 Line up and stick on your letter stickers!

Step 7:
String your tags onto your string...

Step 8:
Hang & Enjoy!

Isn't it great? I love it :)
And you could easily make it into a little "Happy Birthday" or "Merry Christmas" banner too if you just switch up the scrapbook paper you use. Easy Peezy!

Happy crafting!
xo

Tuesday, March 19, 2013

Stamped Berry Container diy


Someone I love very much is going through a rough patch right now and I wanted to do something special for them.  I knew I was going to make her pumpkin spice muffins (her favorite) and paint her something pretty but I didn't know what to put it all in.  I was thinking about going to Walmart or the Dollar Store to get a little basket or container but I wanted to make it a little more personal.  A little more encouraging.  Then I thought of a big stack of strawberry containers my mom had stored in the basement that were perfect!


It was the perfect blank canvas that I was looking for!  
I've recently become obsessed with stamps and I just bought little alphabet stamps where each letter has its own baby stamp.  They're so cute and perfect for making cards and little crafts.  I also just made cute pencil eraser stamps (tutorial found here) that I wanted to use them as well.  The basket was so fun and easy to put together, I thought I'd share it with you here!

What I used:
Berries container (we've had these in our basement forever from when my mom used to to go out and pick her own strawberries), stamps, ink pad.

Made these bad boys with pencil erasers! So cute & SUPER easy!

(The box slipped out of my hands when I stamped that little star, but no worries, I just made it into a shooting star!)

I cut a square of pretty fabric I had laying around to lay inside and painted a daisy with my watercolor paints.


Sure to put a smile on anyone's face!


Thanks for stopping by!
xo

Monday, March 18, 2013

mini pencil eraser stamp diy

The other day I saw a picture on Pinterest of someone using a pencil eraser as a stamp making tiny circles all over a piece of paper.  I thought it was such a cute idea for decorating cards, notes, etc.  But I thought it would be even cuter if those tiny circles were tiny hearts! 


what you'll need:
a new pencil with an eraser, a pen, and a box cutter


Step 1:
Trace a heart on your pencil eraser with a pen.


Step 2:
Start cutting around the heart with your box cutter.
(please excuse my chipping nail polish)

Continue to cut until you have a pretty looking heart shaped eraser
(I colored mine black so it was easier to see at the final step)


Step 3:
Start stamping & enjoy!


Easy as pie!

Happy stamping!

xo

Friday, March 8, 2013

Repurposed Window Frame DIY


Today, I thought I would share a project I worked on over the summer that I absolutely loved.
I repurposed an old window frame and made it into a lovely "weathered" place to hang some favorite pictures and paper products. I also have been decorating it for each holiday -so cute!
(I have to get pictures developed...it's a little bare right now)

*Note: This is my first DIY tutorial.  So feel free to ask me a question if I didn't explain something well enough or  let me know what I can improve on in the future! Gracias!


So, last summer, I found treasure in the form of a window frame in my backyard.
I literally gasped and then asked my dad if he had any plans for the old beat up window frame.
He said no and I did a happy dance.
(Thank you Daddy for never throwing things out!)


Kevin and I started scraping the caulk off of the window to get the glass out safely and in one piece but this was talking forever and was a bit frustrating so we ended up just hammering the glass out.  (Put on gloves and safety goggles if you have them and make sure you smash it out over a garbage can so glass doesn't go everywhere)

Next, we sanded 'er down!
I started off just sanding it by hand, but again, it took forever so I got out my Dad's electric sander which was SO much faster!

Next, I drilled four holes in the sides of the window frame to string some wire across to hang the pictures...


Before drilling, I laid out some pictures in the empty space to see exactly where I wanted to drill the holes.  I accidentally drilled holes right in the middle of the openings, at first, which would've looked funny with pictures hanging because there wouldn't have been an even amount of space on top and bottom of the pictures.


I also drilled two holes at the top of the frame  to string some wire through so i could hang the frame on my wall.


Next, to get a weathered look, I took black paint (I used Folk Art Acrylic Paint) and painted the corners and some edges of the window frame - where the paint would most likely come off of an old, beat up frame or piece of furniture.


After the paint dried, I took some petroleum jelly/Vaseline and applied it on top of the black paint to preserve the paint so it wouldn't  be sanded off later.

Now, here's where I made a mistake.  I just used some petroleum jelly that my dad found in the garage, probably from the 80's...don't do that. 

Why you ask? 
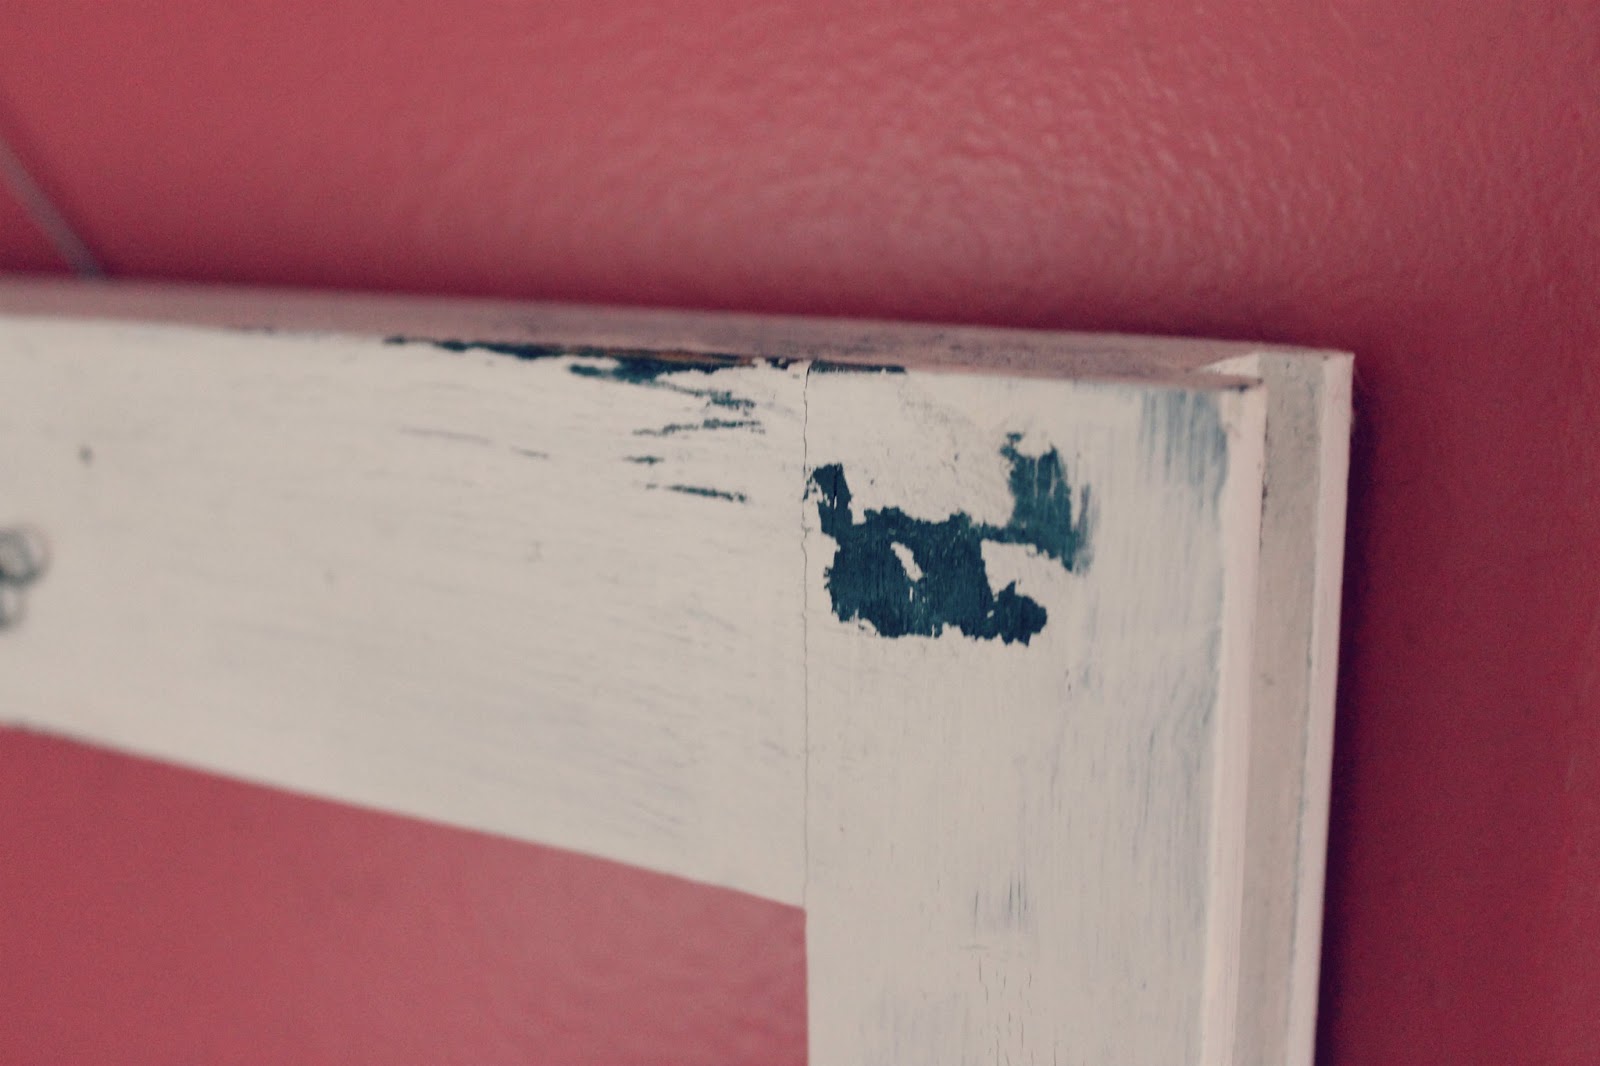
Because when you sand off some of your top coat of paint later for that weathered look, big fat chunks will come off like this...
Blech.

After you applied your jelly and let it dry some, it's time to put on your top coat of paint!
(I used Folk Art Acrylic Paint in white)

And after that dries, it's time to make that weathered look complete!
Take a scrap piece of sand paper and go along the edges and corners of your frame to make it look old and worn.


Once you're satisfied with how your weathered frame looks, string some wire across and through the holes and hang that baby up on the wall!


I bent the wire and made a little flower design on the front so it looks prettier.


I found the cutest and tiniest clothespins I've ever seen at AC Moore to hang my pictures up.


YAY!

Mine's a little too bare...I'm gunna go make a little banner or something for it now!

Good luck to you if you end up trying a project like this.
(I've also seen people do this project with a picture frame)

Happy crafting!

xo

Saturday, February 16, 2013

Valentine's Mailboxes

I wanted to do something special for the girls I watch for Valentine's Day.
I looked at a bunch of different crafts on Pinterest to make them but nothing really caught my eye.
Until I realized someone I follow on Instagram had a blog!
She makes the CUSTEST quiet book pages for her toddler (which is how I discovered her).
I was checking out her blog and BAM!
I found what I wanted to make the girls.

She had a free pattern and tutorial on the most adorable mini felt mailboxes!


I can't really tell you how long it took me to make because I did a little bit at a time over the past two weeks, but it was super easy!

I gave it to my girls a couple days before Valentine's Day and then put special treats in them on V-Day.

They loved it!

I wrote them each a letter that told them I loved them.

They both wrote me a letter right away..
And if you can't read 2/3 year old jibberish, both letters read: "I love you, Sam"


so, so cute!

The tutorial called for putting plastic canvas in between the felt pieces but I didn't have any of that at home. So, I just squirted some hot glue in between the pieces to make it a little more sturdy.  It worked well, but the flags were still floppy, so I would definitely recommend getting it for that!

xo