Today, I thought I would share a project I worked on over the summer that I absolutely loved.
I repurposed an old window frame and made it into a lovely "weathered" place to hang some favorite pictures and paper products. I also have been decorating it for each holiday -so cute!
(I have to get pictures developed...it's a little bare right now)
*Note: This is my first DIY tutorial. So feel free to ask me a question if I didn't explain something well enough or let me know what I can improve on in the future! Gracias!
So, last summer, I found treasure in the form of a window frame in my backyard.
I literally gasped and then asked my dad if he had any plans for the old beat up window frame.
He said no and I did a happy dance.
(Thank you Daddy for never throwing things out!)
Kevin and I started scraping the caulk off of the window to get the glass out safely and in one piece but this was talking forever and was a bit frustrating so we ended up just hammering the glass out. (Put on gloves and safety goggles if you have them and make sure you smash it out over a garbage can so glass doesn't go everywhere)
Next, we sanded 'er down!
I started off just sanding it by hand, but again, it took forever so I got out my Dad's electric sander which was SO much faster!
Next, I drilled four holes in the sides of the window frame to string some wire across to hang the pictures...
Before drilling, I laid out some pictures in the empty space to see exactly where I wanted to drill the holes. I accidentally drilled holes right in the middle of the openings, at first, which would've looked funny with pictures hanging because there wouldn't have been an even amount of space on top and bottom of the pictures.
I also drilled two holes at the top of the frame to string some wire through so i could hang the frame on my wall.
Next, to get a weathered look, I took black paint (I used Folk Art Acrylic Paint) and painted the corners and some edges of the window frame - where the paint would most likely come off of an old, beat up frame or piece of furniture.
After the paint dried, I took some petroleum jelly/Vaseline and applied it on top of the black paint to preserve the paint so it wouldn't be sanded off later.
Now, here's where I made a mistake. I just used some petroleum jelly that my dad found in the garage, probably from the 80's...don't do that.
Why you ask?
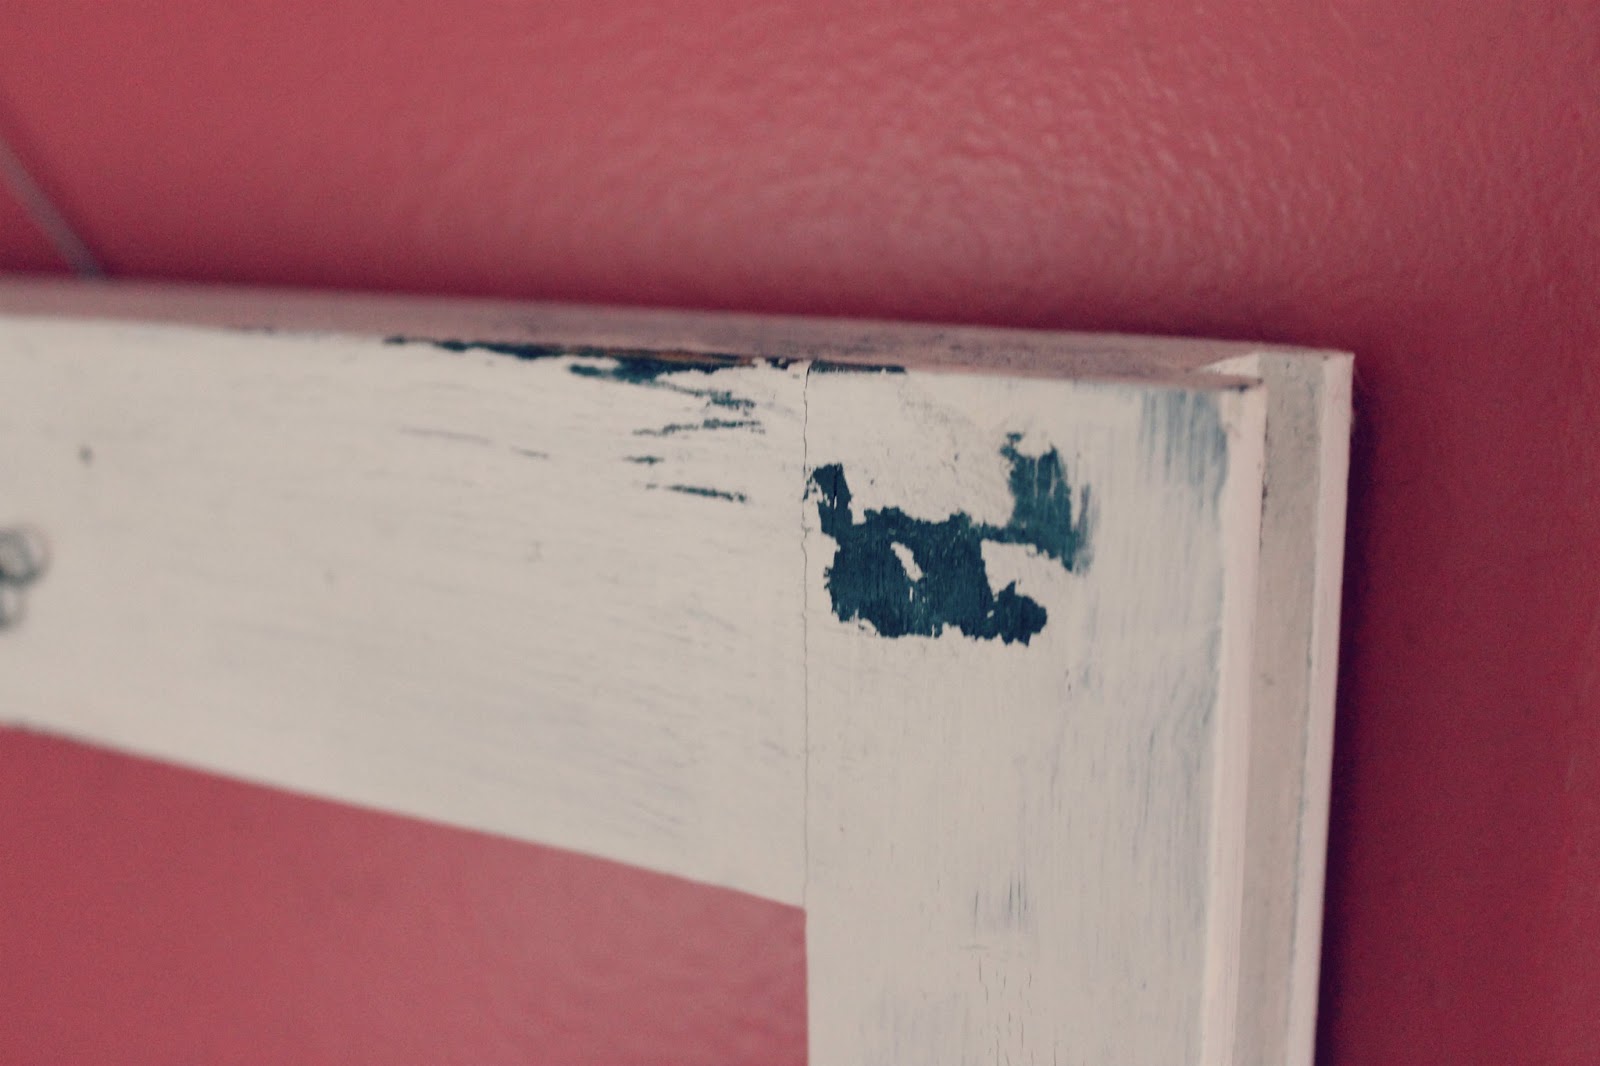
Because when you sand off some of your top coat of paint later for that weathered look, big fat chunks will come off like this...
Blech.
After you applied your jelly and let it dry some, it's time to put on your top coat of paint!
(I used Folk Art Acrylic Paint in white)
And after that dries, it's time to make that weathered look complete!
Take a scrap piece of sand paper and go along the edges and corners of your frame to make it look old and worn.
Once you're satisfied with how your weathered frame looks, string some wire across and through the holes and hang that baby up on the wall!
I bent the wire and made a little flower design on the front so it looks prettier.
I found the cutest and tiniest clothespins I've ever seen at AC Moore to hang my pictures up.
YAY!
Mine's a little too bare...I'm gunna go make a little banner or something for it now!
Good luck to you if you end up trying a project like this.
(I've also seen people do this project with a picture frame)
Happy crafting!
xo